Search This Blog

Saturday, 19 May 2012

Artisan Bread


This is by far, the BEST BREAD I'VE EVER HAD!!!!!


You need to plan ahead when making it, but before bed tonight, mix this up.  Tomorrow, you will be so proud of yourself that you could produce such perfection.  BEWARE: you will eat the entire loaf in one sitting......so make a double batch!!


Enjoy!

XO
L.

Adapted from Jim Lahey, Sullivan Street Bakery
Time: About 1½ hours plus 14 to 20 hours’ rising

3 cups all-purpose or bread flour, more for dusting
¼ teaspoon instant yeast
1¼ teaspoons salt
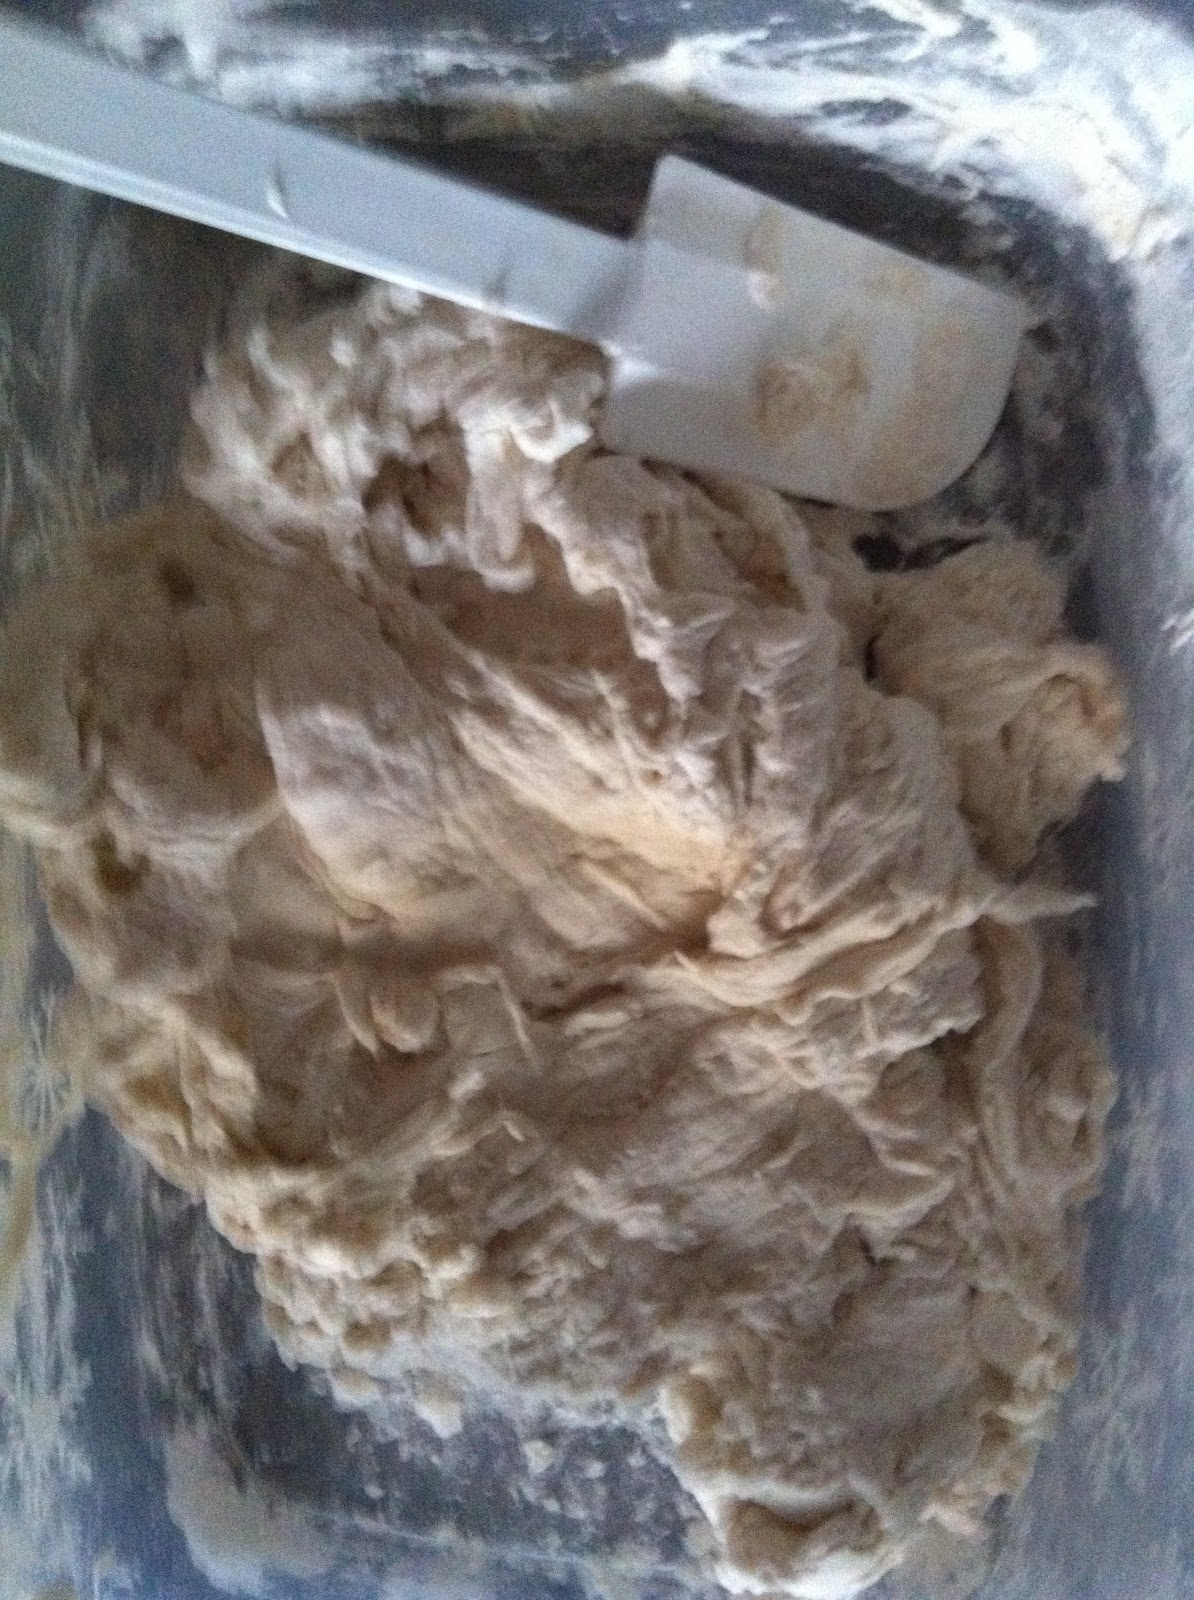
1. In a large bowl combine flour, yeast and salt. Add 1 5/8 cups ( 5/8 cup = 1 1/2 cup plus 2 TBSP) water, and stir until blended; dough will be shaggy and sticky. Cover bowl with plastic wrap. Let dough rest at least 12 hours, preferably about 18, at warm room temperature, about 70 degrees.
2. Dough is ready when its surface is dotted with bubbles. Lightly flour a work surface and place dough on it; sprinkle it with a little more flour and fold it over on itself once or twice. Cover loosely with plastic wrap and let rest about 15 minutes.


3. Using just enough flour to keep dough from sticking to work surface or to your fingers, gently and quickly shape dough into a ball. Generously coat a cotton towel (not terry cloth) with flour,  put dough seam side down on towel and dust with more flour. Cover with another cotton towel and let rise for about 2 hours. When it is ready, dough will be more than double in size and will not readily spring back when poked with a finger.
4. At least a half-hour before dough is ready, heat oven to 450 degrees. Put a 6- to 8-quart heavy covered pot (cast iron, enamel, Pyrex or ceramic) in oven as it heats. When dough is ready, carefully remove pot from oven. Slide your hand under towel and turn dough over into pot, seam side up; it may look like a mess, but that is O.K. Shake pan once or twice if dough is unevenly distributed; it will straighten out as it bakes. Cover with lid and bake 30 minutes, then remove lid and bake another 15 to 30 minutes, until loaf is beautifully browned. Cool on a rack.
Yield: One 1½-pound loaf.



Monday, 7 May 2012

Hearty Sicilian Soup

There is nothing better then a hearty soup on a rainy day......This is what's on tonight at our place. The best part is that it is a one pot meal, and is wonderful reheated.  Great for lunches too! A steaming hot bowl of this Sicilian soup is sure to warm you up and make you feel cozy.  Comfort food at its finest.  Enjoy!


15-20 meatballs,  large or small, I like bite sized ones
5 cloves garlic, minced
1/2 onion,  chopped
2 TBSP olive oil
1 can rinsed kidney beans
2 1/2 tsp black pepper
salt, to taste
2 carrots, chopped
2 stalks celery, chopped
1 zucchini, chopped
1 can chicken broth
1 can crushed tomatoes
1 can diced tomatoes
1/2 tsp fresh chopped rosemary
1 can tomato paste

cooked macaroni, or short pasta

Fry your meatballs in a large stockpot with the olive oil until browned.  Add onion and garlic, saute just a minute or two.  Add all the other ingredients, but the pasta.  While the soup is simmering cook your macaroni in another pot.  once they are fully cooked, add them to your soup.

Serve with grated parmesan cheese on top.

Enjoy this one, let me know if you like it....

XO
L.


Wednesday, 2 May 2012

Good morning everyone!  Just wanted to share this fabulous recipe, a recipe that we enjoy very much at home and one that is great to send to school with the kids for a snack with their yogurt (although I would make it nut free for the kids)  This is such an easy recipe, even a child could make it!


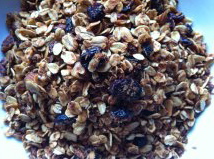
Homemade granola

4 cups large rolled oats
1⁄4 cup wheat germ
1/4 cup wheat germ
1 cup any type of nut, coarsely chopped
1 cup dried cranberries
1⁄2 teaspoon ground cinnamon
1⁄4 teaspoon ground nutmeg
1⁄4 cup butter
1⁄2 cup honey

Preheat oven to 350°F. In a large bowl combine all dry ingredients and stir well to combine. In another bowl, melt butter with honey (microwave for about 1 minute) and pour over dry ingredients. Stir well. Spread a thin layer onto 2 baking sheets and bake until golden, about 20-25 minutes. Remove from oven and cool. Store  in an airtight plastic container or ziplock bag.  Makes 6 cups.  Keeps for about 2 weeks.

Serve over yogurt with freshly cut berries or fruit,  eat it plain or sprinkle it over ice cream.

Enjoy!  Let me know if you try this, I'm curious to hear what you think.

Have a wonderful day!

XO

Lucia

Monday, 2 April 2012

As refreshing as it gets....

There is nothing..... NOTHING better then home made ice cream.  I got myself an ice cream maker last year and have been addicted to making every and any kind of ice cream.  If you don't have one, it is a great investment in my opinion.  You can control what goes into it.  If you are a person with allergies....this is a must have.  Making ice cream is simple and does not require a lot of time.

I had some strawberries that I wanted to use up, and since the warm weather is MAKING me pull out the gin and tonic,  I figured I had better make some strawberry lime sorbet to add to it!!

So here it is, a beautiful burst of red, to add to your gin and tonic, or to any drink for that matter to make a spritzer.  Simply delicious on its own, Strawberry Lime Sorbet.

Strawberry Lime Sorbet

1 quart fresh strawberries, washed and hulled
1/2 cup water
1 lime, squeezed (if you are not a lime person, use a lemon or orange)
3/4 cup sugar
1 tsp grated lime zest
1 TBSP gin or vodka

In a blender, mix everything together untill it is smooth and creamy.  At this point, stop yourself from getting a straw and slurping it down!!! Trust me, it is tempting!  Refrigerate 1-2 hours.

Pour this mixture into your ice cream maker and churn for 15-20 minutes (sorbet is soft after churning, it will firm up once frozen).   Transfer to a plastic container and freeze.

**if you do not have an ice cream maker**
reduce the sugar to 1/4 cup and add 3/4 cups corn syrup.....the corn syrup helps the sorbet to stay softer so it does not freeze into an ice block.

Pour the blended mixture into a plastic container and every hour stir it up with a fork until set.


Now, for the most delectable part, add a scoop of your sorbet to a glass.  Top with any beverage of your choice, and sit down, sip, breath and restore.

Enjoy this one friends!

XO
Lucia

Tuesday, 20 March 2012

Date anyone??

I was always skeptical to try them, even though I love dates, and I love mascarpone cheese, but together?? My rule of thumb is try everything once, especially when it is made in an amazing restaurant.  Don't be afraid of food!! You will more then likely surprise yourself and discover a new flavor that you never knew you would enjoy.

Last week I was out with a dear friend, and they were selling mascarpone stuffed dates for dessert......this was my big chance!

They were spectacular! So delicious that I went out the next day to buy some ingreedients and made them at home.

So simple, delicious, and.......healthy really!

Mascarpone filled dates with maple syrup and chopped pistachios

Medjol dates (large succulent dates, no substitutions)
mascarpone cheese
unsalted pistachios, chopped (for garnish)
pure maple syrup, also for garnish

Cut dates lengthwise, leaving bottom intact.  Remove pit.  Whip mascarpone in a bowl.  Fill dates with whipped mascarpone and gently close them together.  Arrange on a dish.  Refrigerate for at least 2 hours.        Can be made day before.  Before serving, drizzle with maple syrup and sprinkle with pistachios.


Is your mouth watering yet?

Saturday, 17 March 2012

Smashed Taters

These are a new favourite in our home.  So simple, but so flavorful!

There will be NO leftovers, they are that good!!

The best part is that there is no recipe really, so you can make them for a crowd or just for two.....

Boil baby potatoes until they are fork tender
drain water, and return to hot pot, drizzle with plenty of olive oil, salt and pepper

on a  cookie sheet, place each potato, and push down with your finger.  If they are too hot to touch, just use a paper towel to help with the heat.

Place in a preheated 425' oven and roast until they are crispy and golden, 15-20 minutes.


Saturday, 4 February 2012

Sweet, sweet potatoes

These are not only super nutritious, they are simple to prepare, and are a wonderful way to get the kidlets to eat them by adding a couple of marshmallows on top!!  These beautiful bursts of orange goodness are one of my favorite things to eat in the cold winter months.

Here are some facts on these gems......


Nutritious sweet potatoes are low in calories (provide just 90 cal/100 g, on comparison with starch rich cereals) and contains no saturated fats and cholesterol; but are rich source of dietary fiber, anti-oxidants, vitamins and minerals.

They are storehouse of starch, a complex carbohydrate, which raises the blood sugar levels slowly on comparison to simple sugars; therefore, recommended as a healthy food supplement even in diabetes.

They are excellent source of flavonoids like beta-carotene and vitamin A (provides 14187 IU of vitamin A and 8509 mcg of β-carotene). The value is one of the highest among root vegetables category. These compounds are powerful natural antioxidants. Vitamin A is also required by the body to maintain integrity of healthy mucus membranes and skin. It is also vital nutrient for vision. Consumption of natural vegetables and fruits rich in flavonoids helps to protect from lung and oral cavity cancers.

The tubers are packed with many essential vitamins such as pantothenic acid (vitamin B5), pyridoxine (vitamin B-6) and thiamin (vitamin B-1), niacin, and riboflavin. These vitamins are essential in the sense that body requires them from external sources to replenish. These vitamins function as co-factors for various enzymes during metabolism.

They also contain good amounts of minerals like iron, calcium, magnesium, manganese, and potassium that are very essential for body metabolism.


Here is how  made these individual sweet potato

2 large sweet potatoes, cut crosswise into 2'' round discs
butter
brown sugar
pecans
mini marshmallows, for the adventurous

In a preheated 350' oven, place sweet potato rounds onto an ungreased pan.  Roast for 15 min then turn them over.  Continue to roast another 25 min, and check them to see if they are ready.  They should be totally soft in the center when pressed with a spoon.  Using a melon baller, or spoon, scoop out a thin layer on top of each round, save all of the scoopings in a ramekin, and bake with the others, or save for another use.  Top each potato with a pat of butter, a nice sprinkling of brown sugar, pecans, and marshmallows if using.  return to oven for 5-10 more minutes until all is gooey, and dripping and delicious!

DIG IN!!!!